Draw freehand shapes and annotate diagrams
When you draw a freehand shape in diagrams.net, it is saved as an image with a transparent background on the drawing canvas by default. You can change the freehand-drawn shape’s style like you would many other shapes: line colour, fill colour, opacity and more. You can also resize, flip and rotate your freehand drawing.
Add a new freehand drawing
- Open the Freehand panel. You can move this panel so it doesn’t obstruct where you want to draw.
- Select Arrange > Insert > Freehand.
- If you are using the Sketch editor theme, click on the Freehand tool in the toolbar.

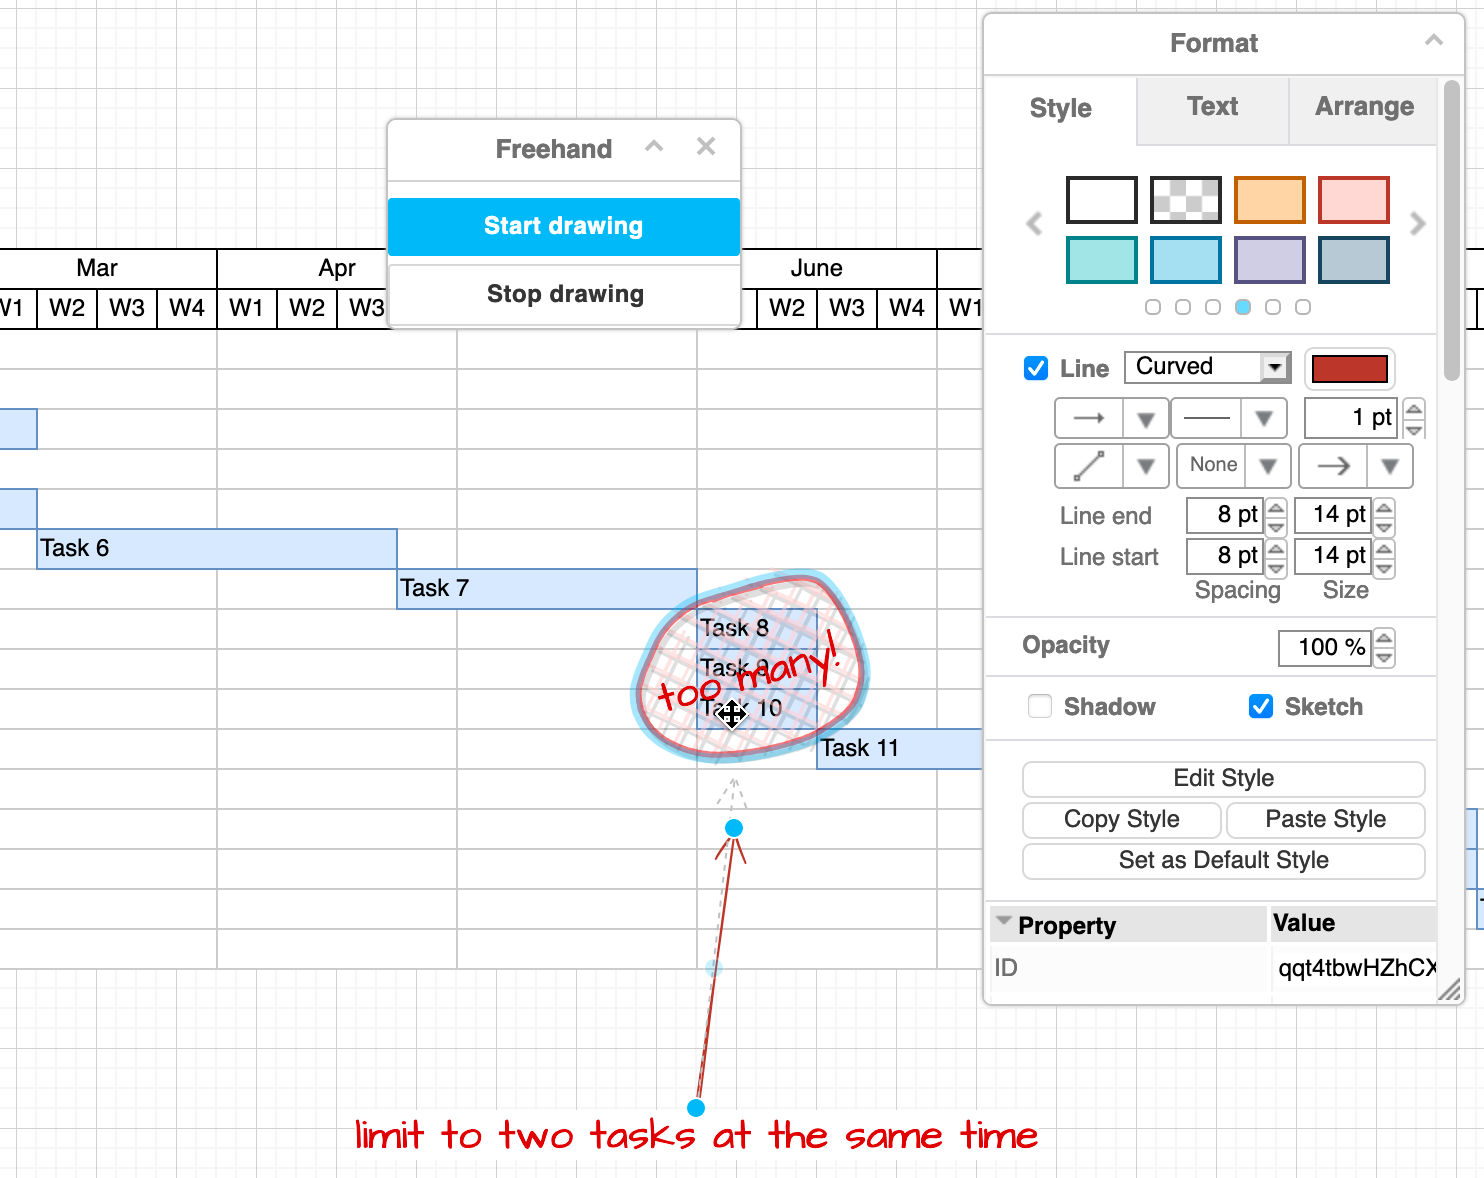
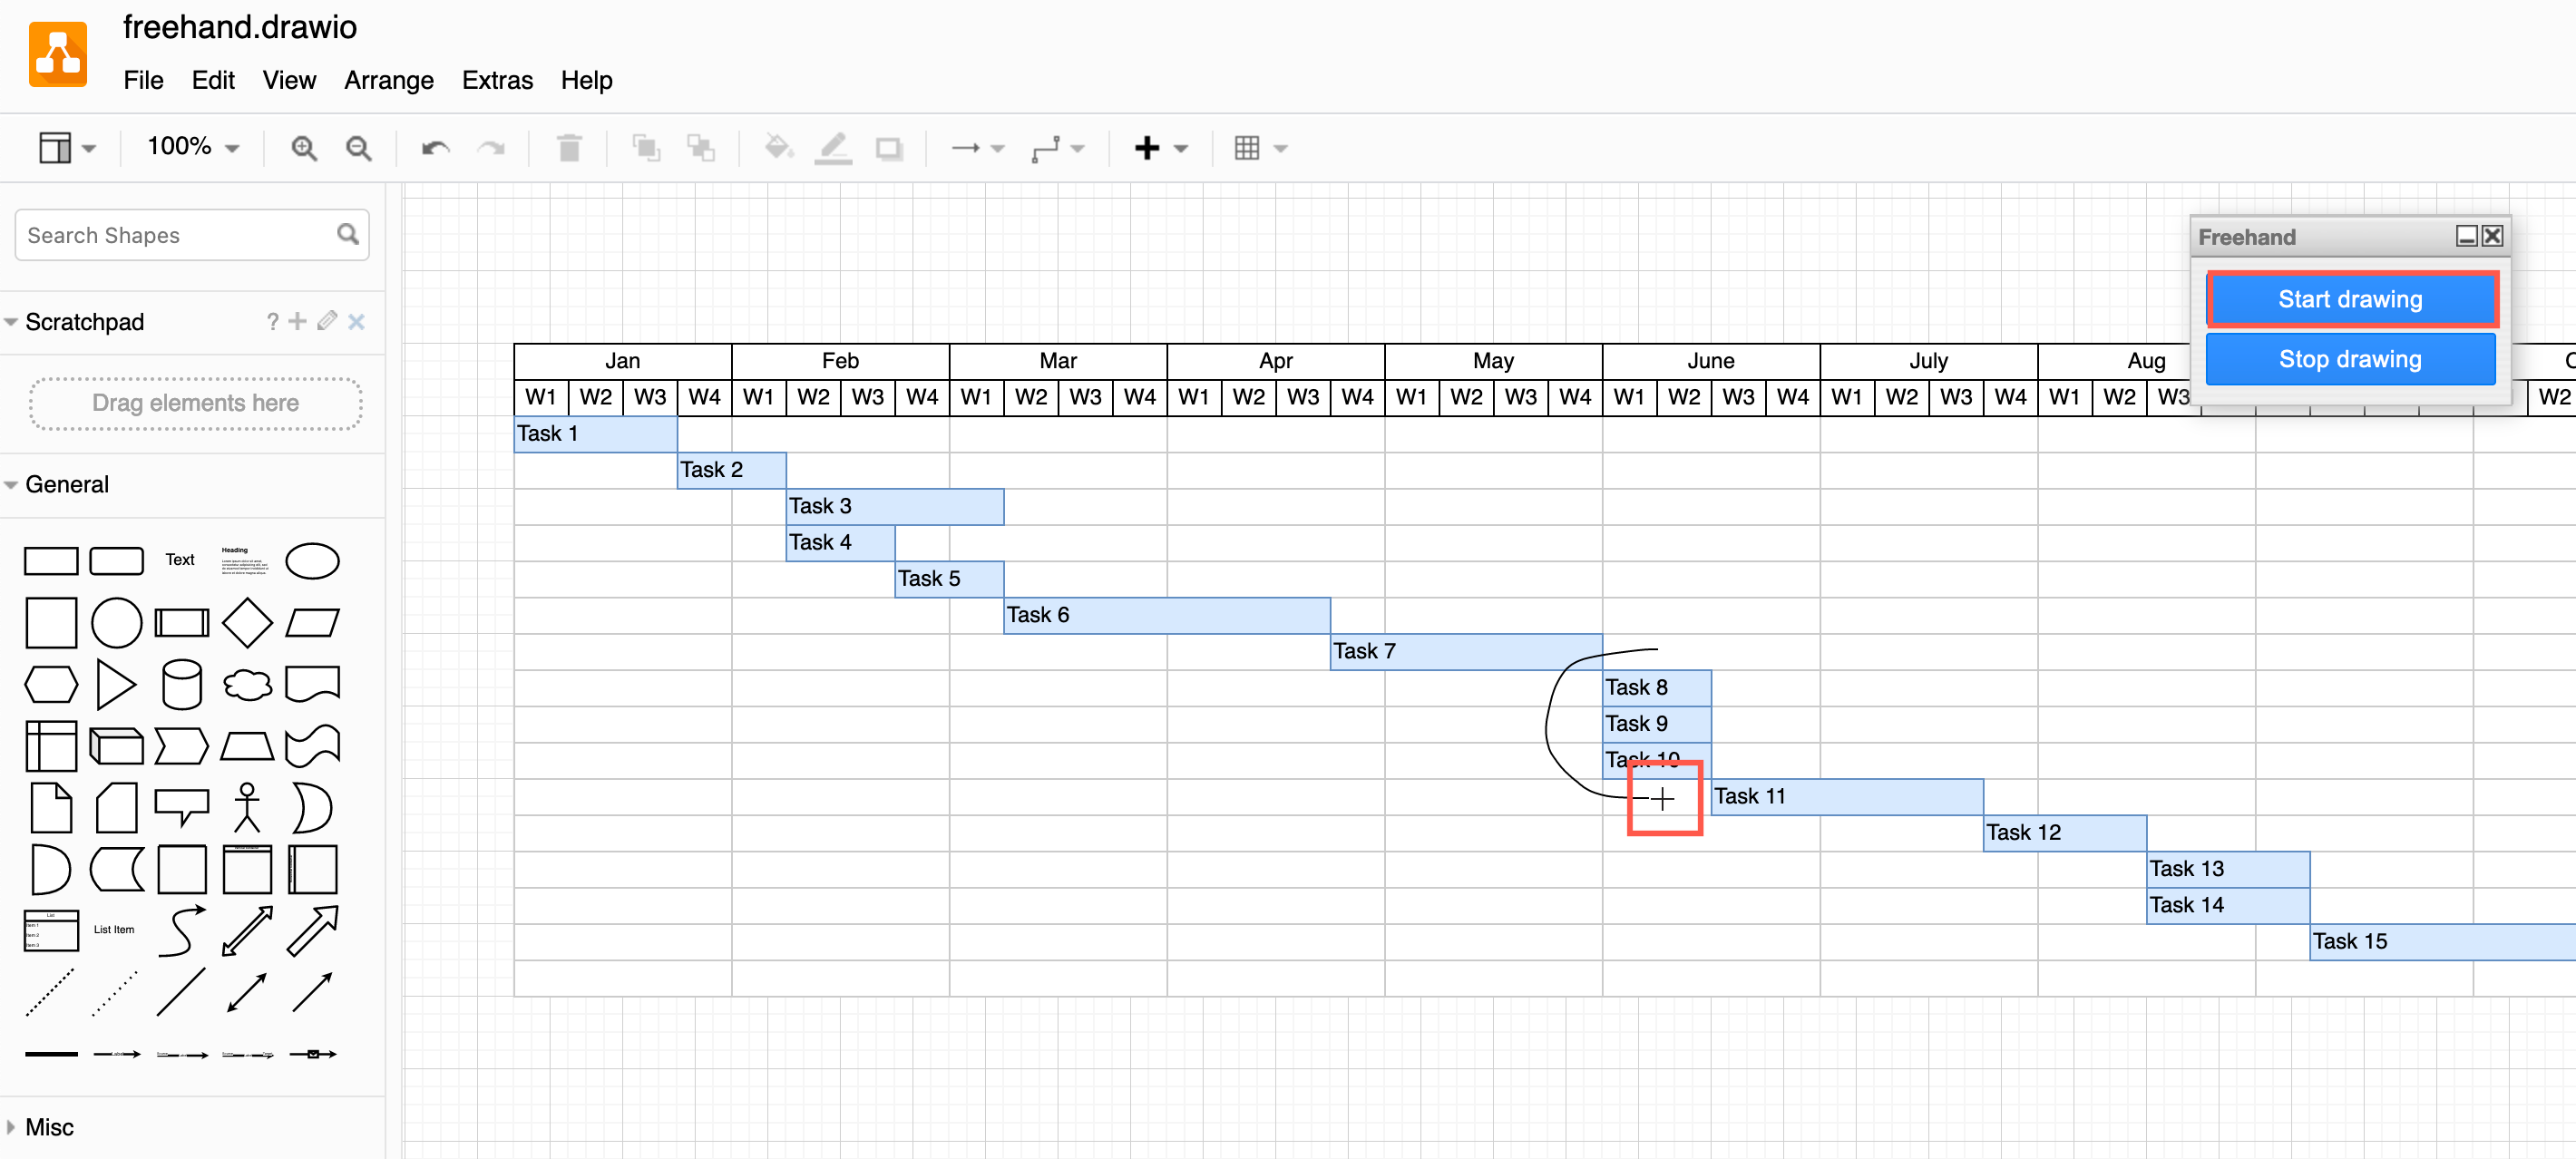
- Click Start drawing in the Freehand panel. You’ll see the cursor change to a thin ‘plus’ (
+) to show it will now record drawing movements. - Click and hold to draw a freehand line on the drawing canvas. You can add multiple separate lines in your freehand drawing.
Stop drawing
Stop drawing in one of the following ways.
- Press
Esc. - Click on Stop drawing in the Freehand floating panel.
- Close the Freehand panel.
- Click on the drawing canvas without moving the mouse.
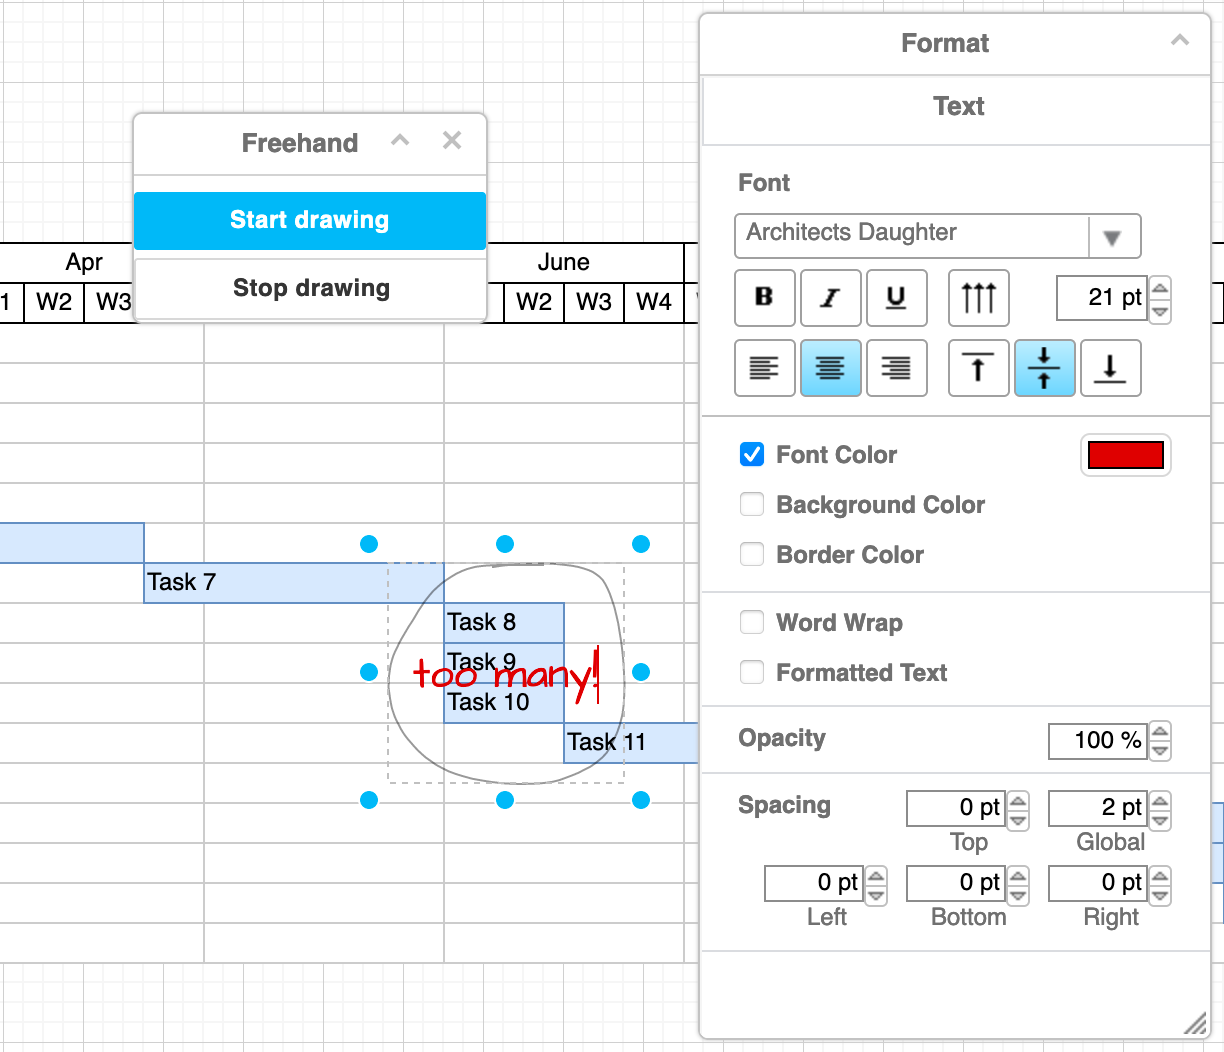
- Style the freehand shape you just drew in the format panel on the right.
- Add a new shape from the shape libraries.
- In the Sketch editor theme, click again on Freehand in the toolbar on the left.
Tip: Freehand drawing also works on mobile devices, using your finger to tap and draw instead of the mouse.
Add a label to your freehand shape
- Double-click on the freehand shape you have finished drawing.
- Enter the label text, and style it using the Text tab in the format panel.
Tip: If you want to use multiple text formats inside your label, make sure the Formatted Text checkbox is selected.
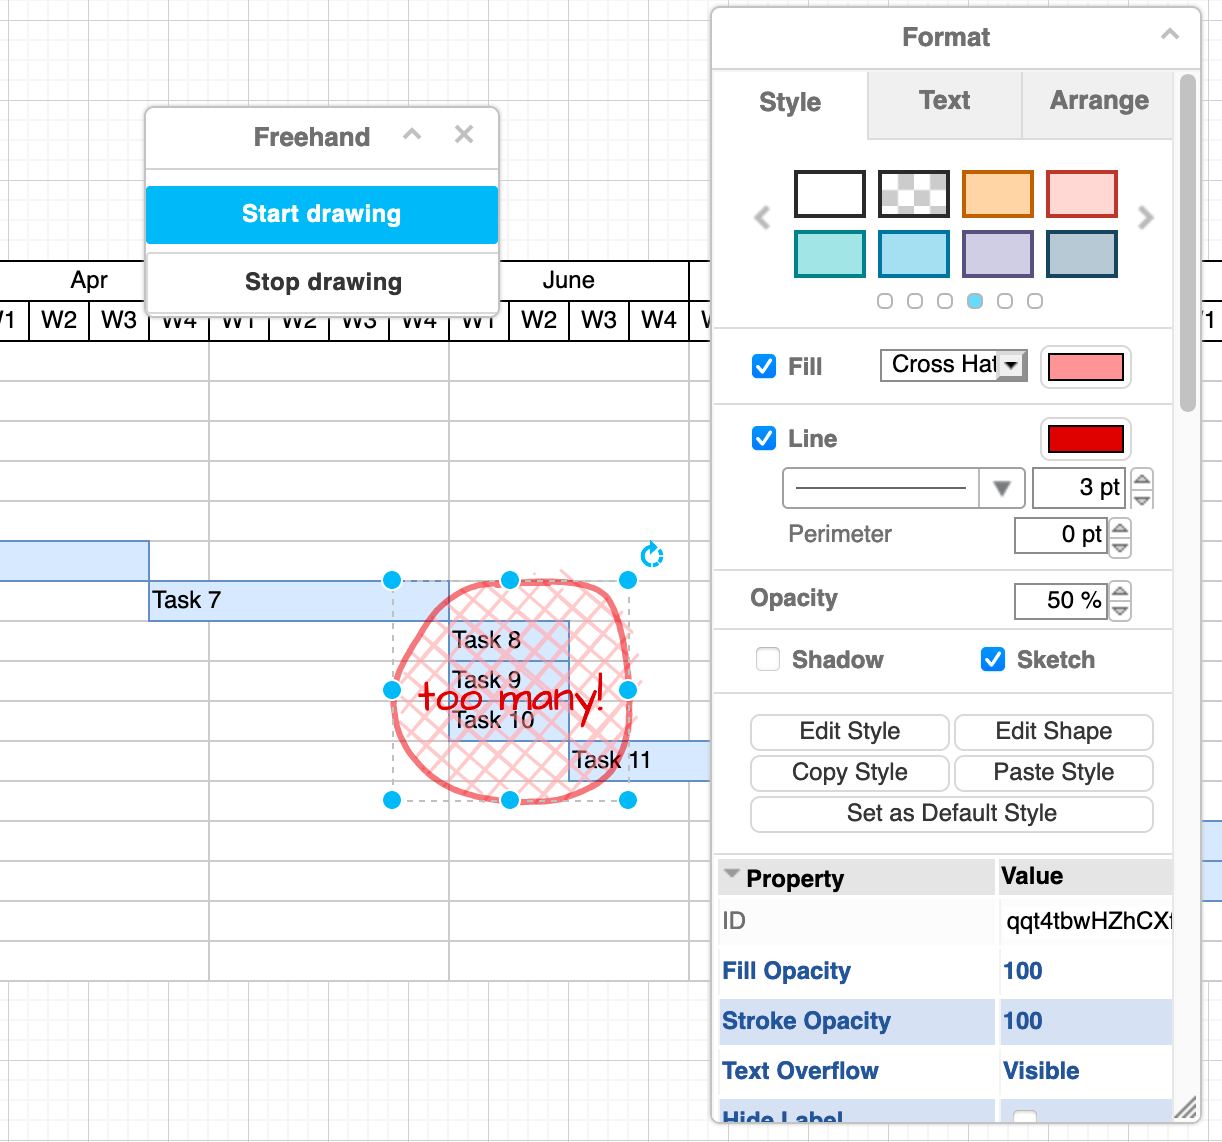
Style your freehand shape
Select the shape and use the Style tab of the format panel to style your freehand shape.
- Change the colour using the style palette or add a custom Fill and Line colour.
- Change the style by selecting a different one from the Line drop-down list, width of the line by change the number next to the line style.
- Change the Opacity, add a Shadow, or use the Sketch style.
- Expand the Properties at the bottom of the Style tab of the format panel to change many more style settings on your freehand shape.
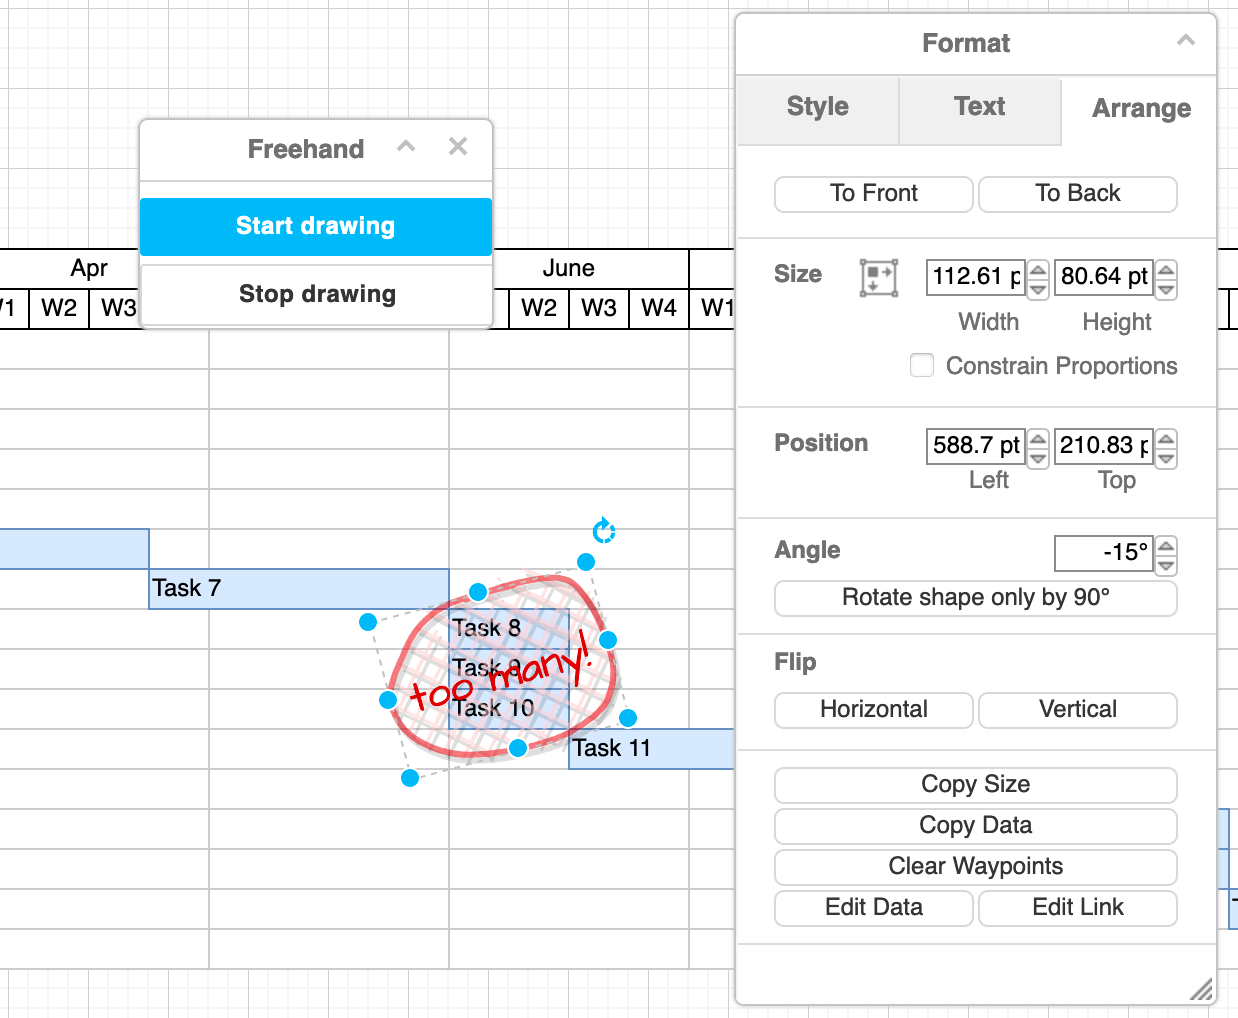
Resize, rotate and reposition a freehand shape
You can change the size, rotation angle and postion of a freehand shape, just like you would any other shape.
- Resize: Drag the round grab handles of a selected freehand shape to resize it, or edit the Width and Height values in the Arrange tab of the format panel. If you want the freehand shape to be resized proportionally, make sure Constrain Proportions is selected in the Arrange tab.
- Rotate: Drag the circular arrow in the top right of a selected freehand shape, or enter a new Angle in the Arrange tab of the format panel. Alternatively, Flip the shape horizontally or vertically via the Arrange tab.
- Reposition: Drag the freehand shape to a new position on the drawing canvasm, or enter a new Position in the Arrange tab of the format panel. Bring it to the front or send it to the back by clicking To Front or To Back in the Arrange tab.
Use connectors with freehand shapes
- Drag the end of a connector to a freehand shape to connect them like you would any other shape.
- Drop the connector when you see a blue highlight for a floating connector, or when the highlight is green for a fixed connector.